Taming the Wild BOM: Why You Need a PLM System to Corral Your Data
Learn why you need a PLM system to help corral your data in our latest blog.

Are you starting out with Nastran In-CAD and things are getting a bit meshy?
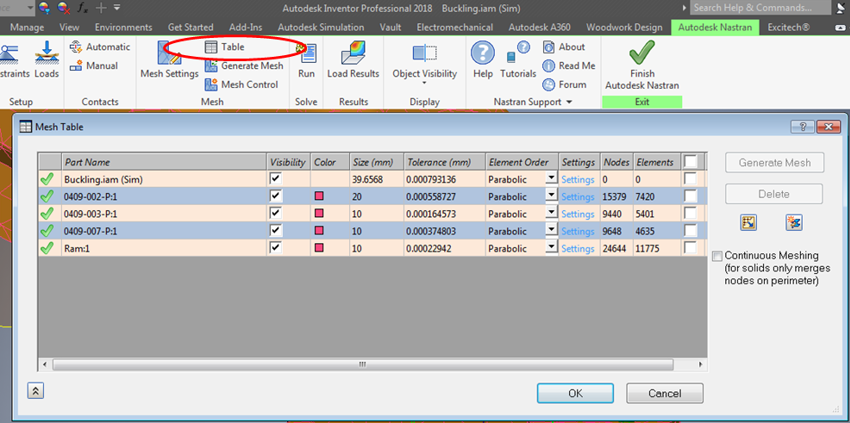
One thing that can help is getting to grips with the mesh table, it allows really fine control over the mesh in each area of the model, to help with solve times, solve accuracy and troubleshooting.
The mesh table can be accessed here:

And here are my favorite uses for it:
Ok that’s it for now. A powerful tool indeed. Feel free to check out the video below.
Note: the below video was created by Excitech prior to becoming Symetri in January 2021, following its acquisition by Addnode Group. All Excitech products, services and solutions mentioned in this recording are available through Symetri.
Learn why you need a PLM system to help corral your data in our latest blog.
Learn about BIM to GIS Collaboration Patterns Between Owners, AEC Firms, and Municipalities in our most recent blog post.
Learn about the Dynamic Duo of Water Infrastructure Management through Autodesk’s InfoWater Pro and Esri ArcGIS in our most recent blog post.
