However, it can be useful to be able to create a plotter yourself in case you lose one of the default ones or need to create a different one. Below we are going through a step by step process on how to create a PC3 plotter for use with AutoCAD. We are going to create a ‘DWG To PDF’ plotter in this example but you can use the same method to create a different plotter.
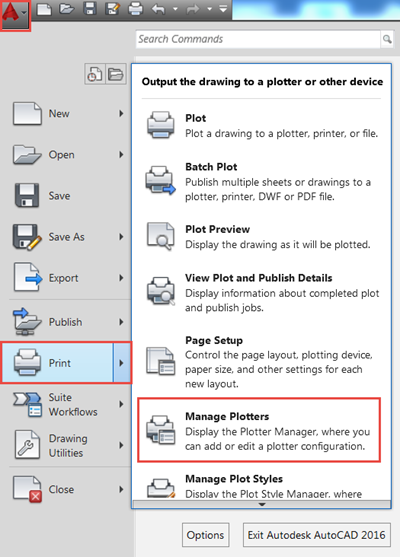
First, click on the AutoCAD menu on the top left corner and click on Print and then ‘Manage Plotters’:
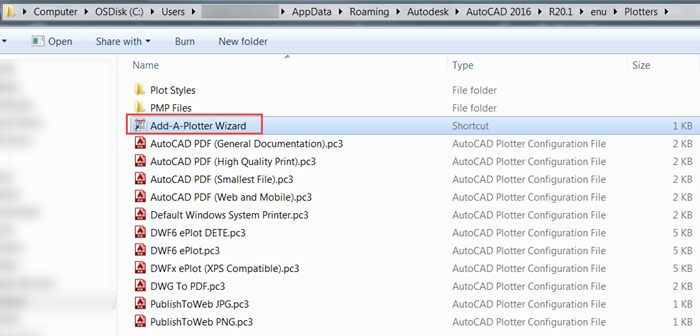
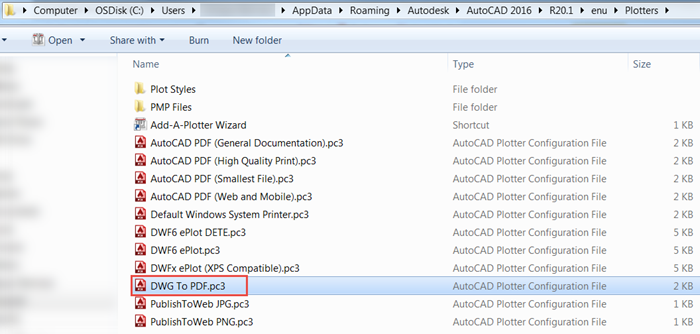
This opens up the folder which contains all the PC3 files on our machine for this version of AutoCAD. This folder also contains a shortcut to ‘Add-A-Plotter Wizard’. We double click this to start the creation of the PC3 plotter.
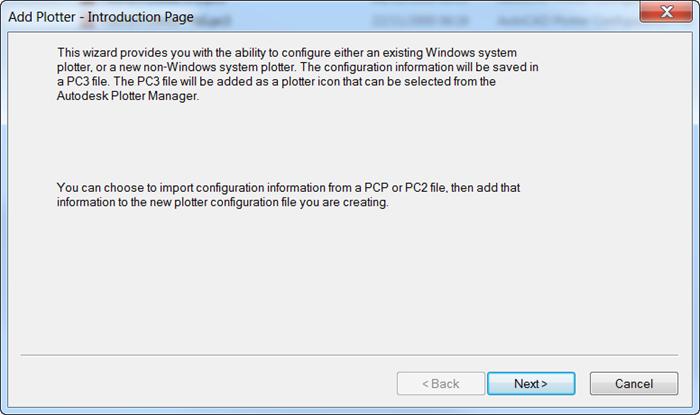
We are presented with an introduction window that gives a brief explanation of what we are about to do:
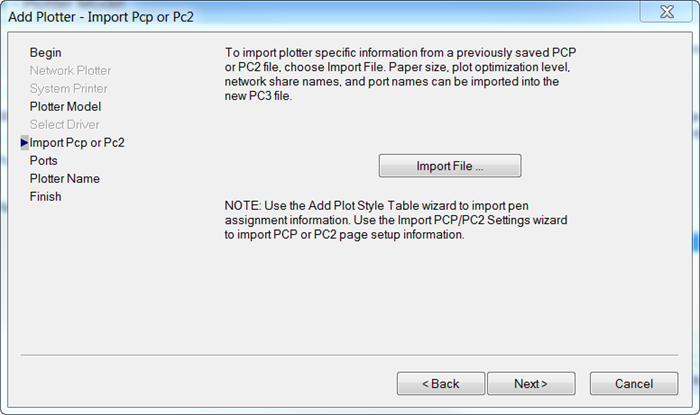
Choose the ‘My computer’ option to store the PC3 file in our machine:

Then the Manufacturer and Model, as shown below:

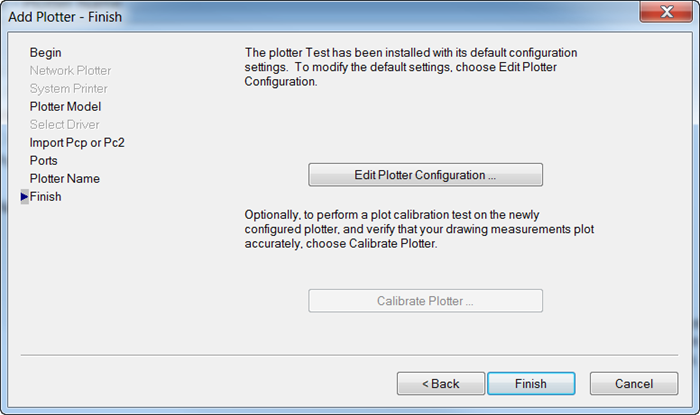
For the next two windows, you simply click next and accept the default options:

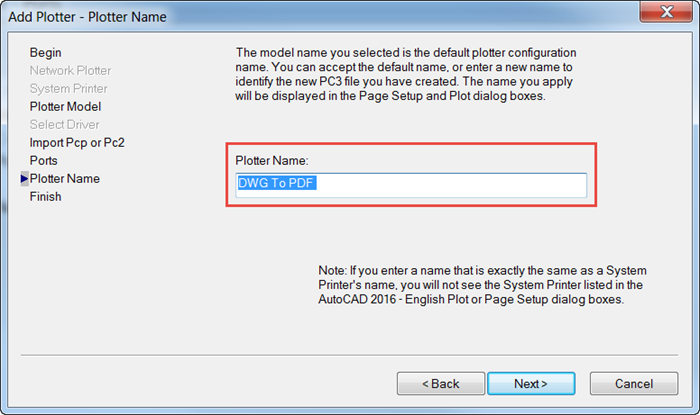
Select a name for the Plotter and click “Finish” to create the file:
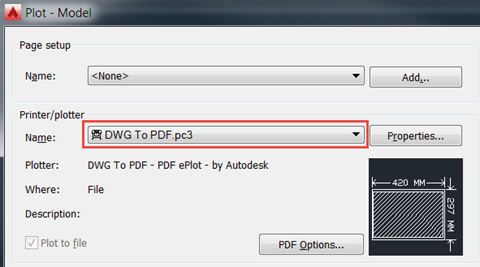
Once the file is created you should be able to see it in the folder and in the AutoCAD dialogs:
I hope you found this useful. If you would like to know more about AutoCAD and its capabilities, take a look at our variety of AutoCAD courses:

