In the following lines, you will find a step by step guide on how to create a viewport with a customized shape.
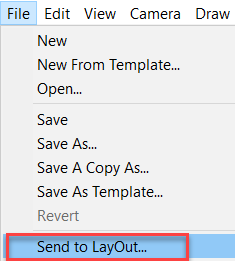
We start by sending our model to Layout. From SketchUp Pro, access the File menu and select ‘Send to Layout…’.
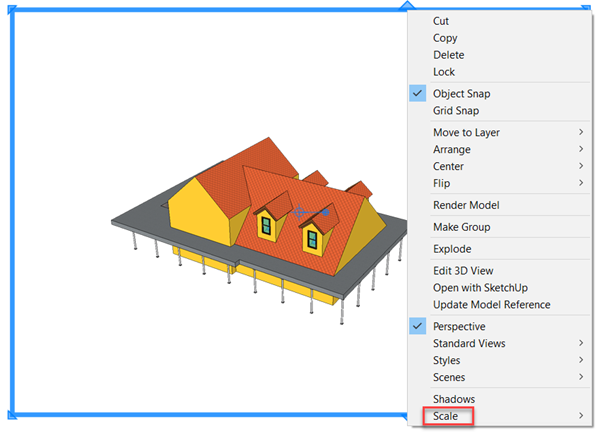
After choosing the template, a new page will be created in Layout with a rectangular viewport showing the model. You can resize the viewport by clicking and dragging on the border. If you would like to show the model at a particular scale, that option can be found by simply right clicking on the viewport.
If you double click inside the viewport, you will be able to change the zoom level and camera angle by simply orbiting, zooming and panning in the model, as you would do in the main SketchUp Pro application.

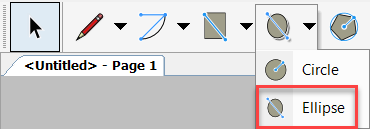
Draw a shape on top of the viewport using the toolbar. We will draw an ellipse in this example.
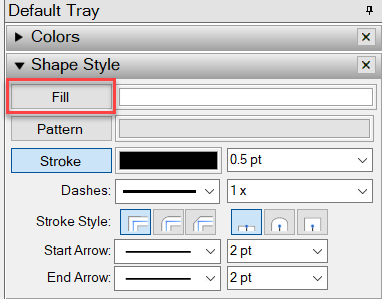
The shape will be initially drawn as solid, you can turn off the fill from the ‘Shape Style’ panel of the default tray, as shown below. Note that you will need to select the shape first.
Select both the shape and the viewport. You can achieve this by clicking on both objects while holding the Control key. Then select ‘Create Clipping Mask’ from the right click menu.
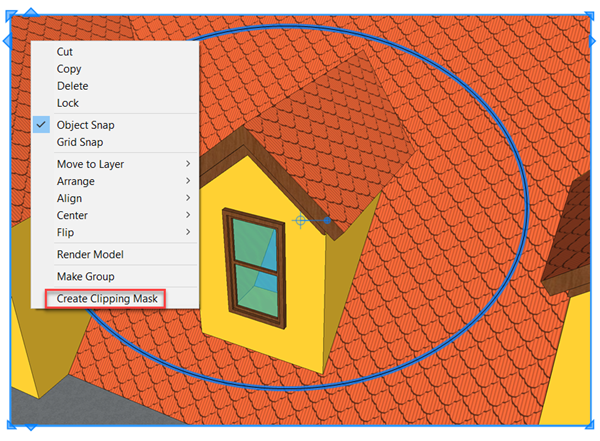
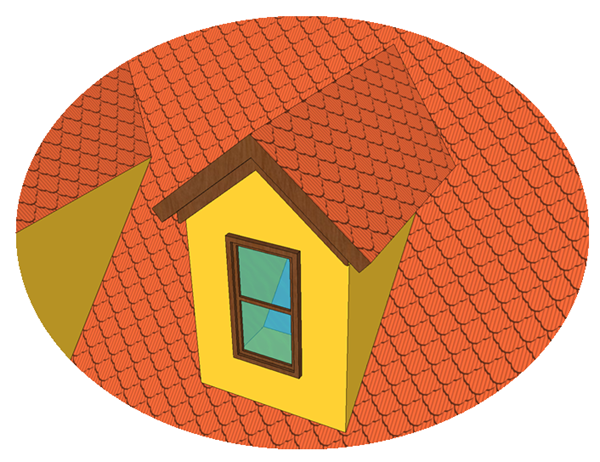
That will cut the viewport into the desired shape.
If you would like to know more about SketchUp Pro and its capabilities visit our product page.

