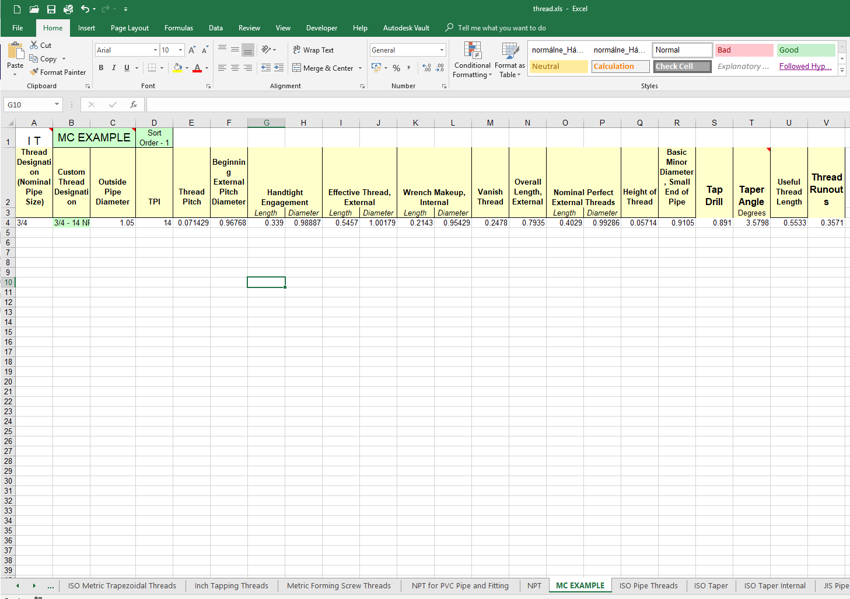
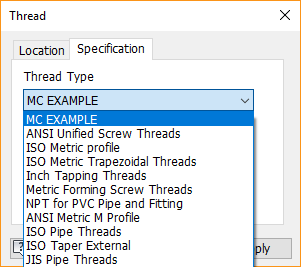
The thread sizes in Autodesk Inventor are drawn from a spreadsheet of standard thread types and sizes. If you are looking to edit the spreadsheet you can:
- Reorder thread types list
- Change the thread designation
- Add custom sizes
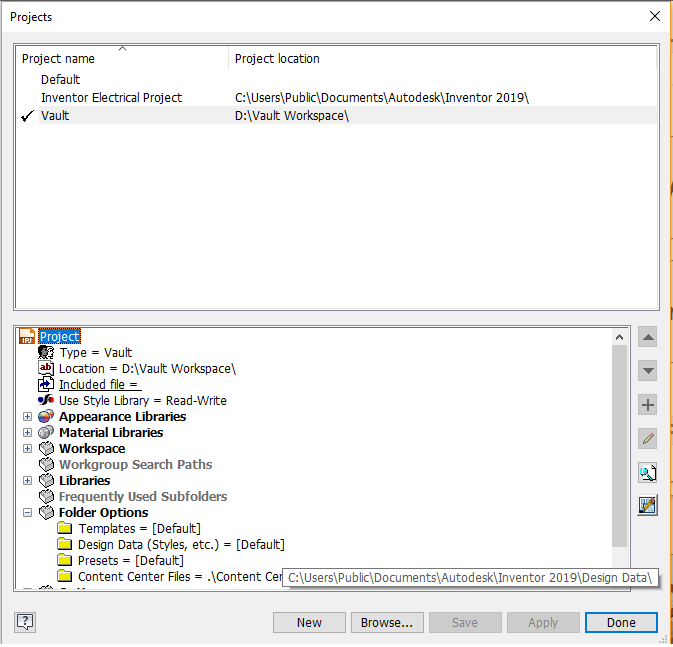
Initially, you will need to locate your design data folder. If you are unsure as to the whereabouts of this location, load up inventor and go to: Get Started - Projects - on the active project scroll down to Folder Options - hover over Design Data.
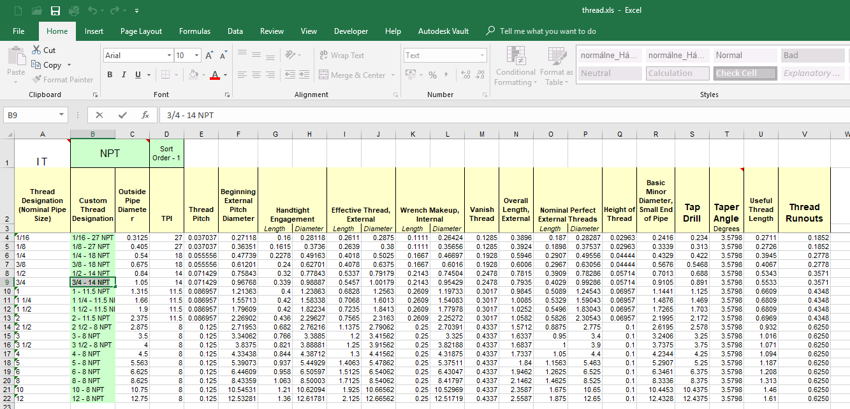
Once in this folder location, go to: XLS - en-us - then open Thread.xls.
Reordering Thread Type List
If you are using one thread type and having to select down the list every time, you can change this so that the one you use most frequently is at the top of the list. In the thread.xls in cell D1 it has 'Sort Order-#'. To reorder the list, change the number so that your most commonly used is 1 ('Sort Order-1'), working upwards.
Changing the Thread Designation
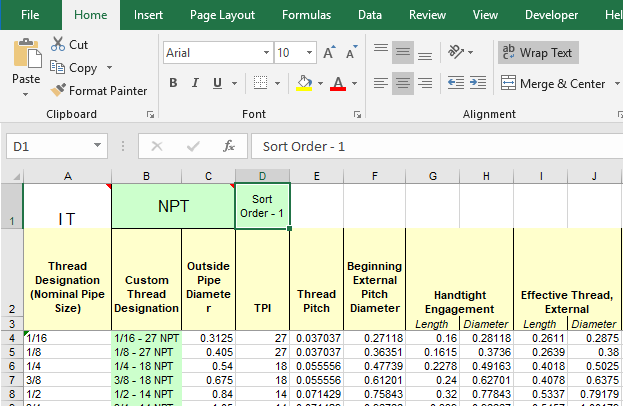
The thread designation can be changed in the Thread.xls spreadsheet by changing them in the column 'Custom Thread Designation'. Changing the 'Thread designation' column can cause spreadsheet errors, so it is best to avoid this. A further error that can be caused is if the 'Thread Designation' column has the same name. The 'Custom Thread Designation' column should also have the same names.
Adding Custom Sizes
Inventor comes with a pre-set list of thread sizes, but these sizes are not always the thread you need. To add sizes, scroll down to the bottom of the list (or insert a row) and add the parameters for the new thread in. You can also create a new custom thread type by copying a spreadsheet (either Parallel or Tapered) and deleting rows 4 down. You can then input your own values of thread, cell B1 will also need to be changed to the new thread type name otherwise it will throw up an error message.
