Copy and Replace Component
IT’S BACK!!
The ‘Copy and Replace Component’ tool has returned to the toolkit and will also appear on the right-click menu. The main purpose of the tool is to be able to copy a part in an assembly, give it a new file name, and replace it with the existing part. This allows for quick part creation and modification without losing any links in the main assembly. Here it is in an application:
Query
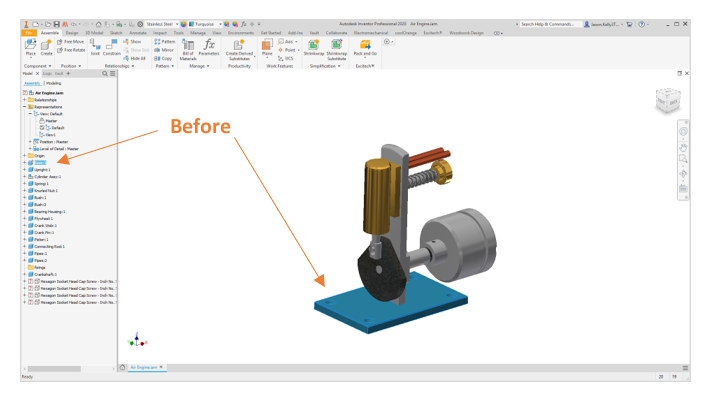
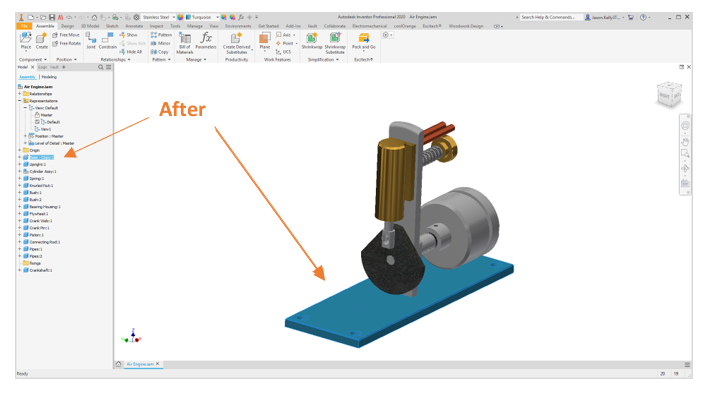
A new order has come in for the ‘Air Engine’ but a different length base part is required. You want to create a new part with the same features apart from change a few parameters.
Resolution
Right-click on the component you wish to copy and go down to ‘Copy and Replace Component’.

You will then be presented with your ‘Save Copy As’ dialogue box where you can choose the file name and save location of the new part.
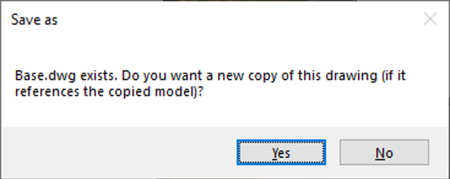
It will also pick up any drawings associated with the original part file and ask if you want to save a new copy of the drawing file.

Once completed the new part will be placed in the assembly and then this can be opened and altered without any links being lost. It also won’t affect the original part which could be referenced in other assemblies.


Below is a detailed list of all the changes for the 2020.1 update:
Added Copy and Replace Component
Changes
- Images on Export Options form updated to a transparent background
- Notify after export for manual export only
- Forms updated for scaling
- Tooltips updated
- Toolkit ribbon shows with no documents opened
- Ribbon icons updated
Fixed
- Toggle LOD selection issue resolved
- Assembly view rep manage custom property selection fixed
- Full stop character issue on remote support form fixed
- Issue with Vault auto numbering resolved
- Set Properties folder option not retained fixed
- Export DXF available release versions resolved
- Export Image clean screen acts as Inventor
How to apply the update?
To get the latest update download the 2020.1 update from
this link (note that you don’t need to remove the old version).
Double click on the .msi file from the download media. Follow the installation procedure through. Once complete reboot Inventor, this should pick up on your previous license. If it is on a new machine send your license request through to support.
Did you know…You can export your Excitech toolkit options from one machine to another? Load up the ‘Registry Editor’ in windows and navigate to this address:
Computer\HKEY_CURRENT_USER\Software\Excitech\InventorToolkitRight Click on the ‘Inventor Toolkit’ folder and select ‘Export’. Save this ‘.reg’ file to a shared location. On a different machine double click on this file. This will import the settings directly into your Toolkit.

Ideas:
Here is a list of ideas that we have had so far. If any of these would be useful let us know:
• IPN files in the ‘Enhanced Save As’ tool
• Inspection dimension to a checklist
• Import property lists
• Dependent linked property options – i.e. selecting one property value selects or limits values available in another – e.g. material & material code
• Random color - same color for different part instances
• Options export
• Notification and grace period on license expiry
• IGES export option
• Delete all suppressed parts – including in patterns?
• Update first referenced view
• Place opened component in an assembly
• Save filename according to properties
• Virtual Part library
• Revision cloud


